Hey everyone! GFC will be discontinued soon for Wordpress Blogs, so be sure to follow with LinkyFollowers instead! I don't want to lose any of you! Thanks!! :D
Welcome to the Crazy Cute Party at Between U & Me! If this is your first time here, make sure to become a follower so you don't miss any of the awesome giveaways, tutorials, before/afters, and so much more! ;D
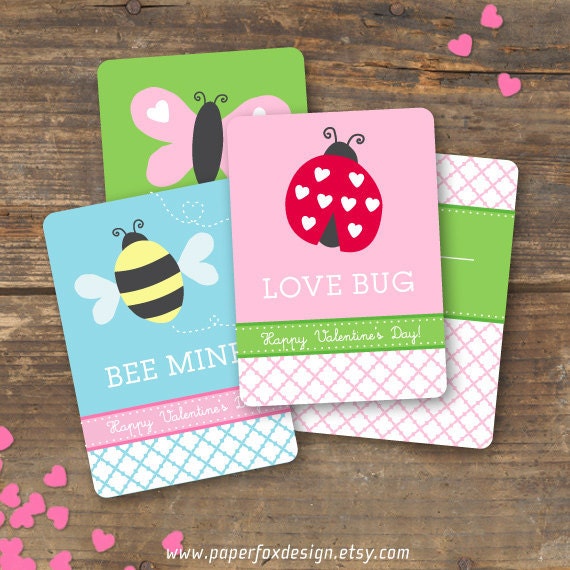
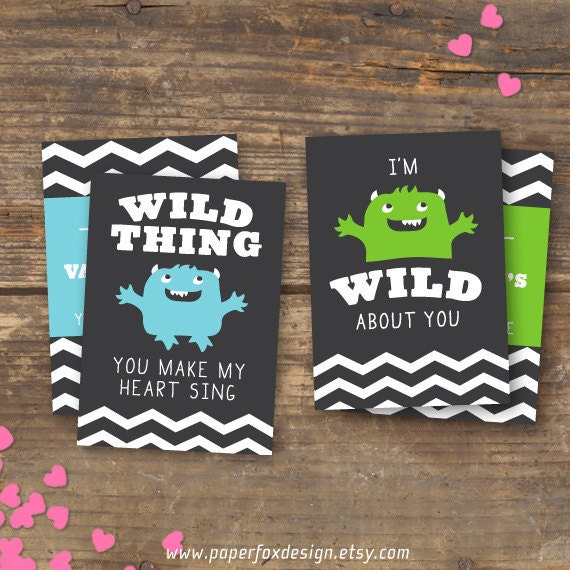
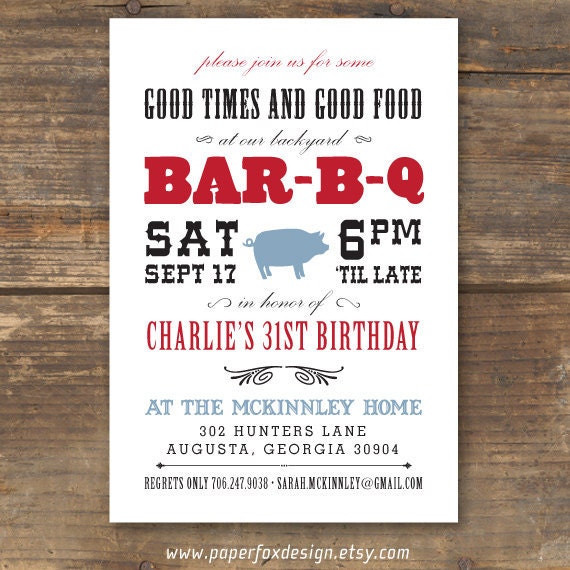
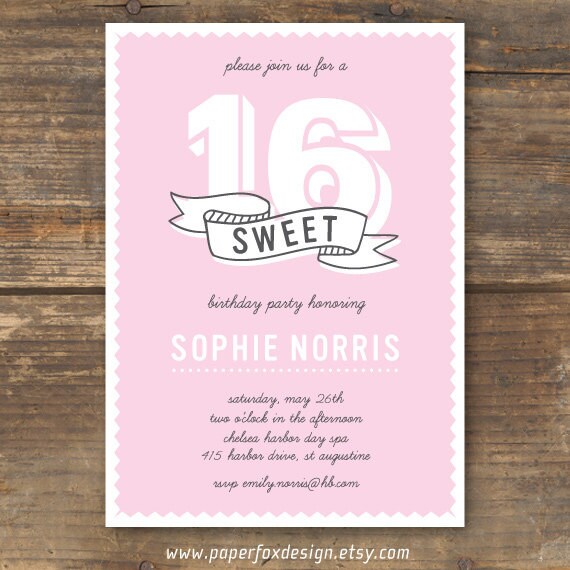
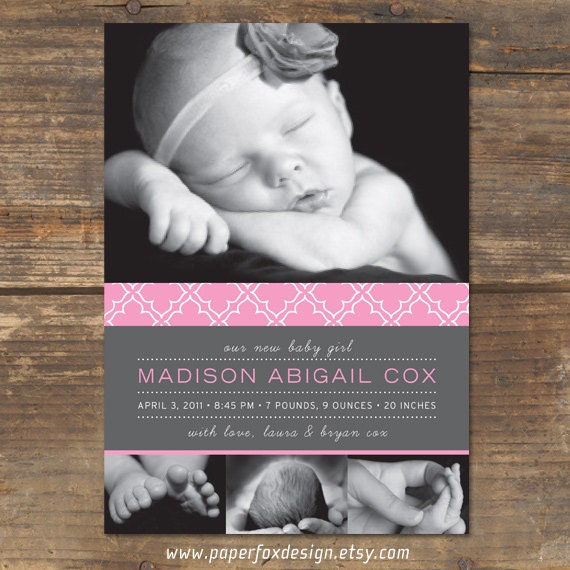
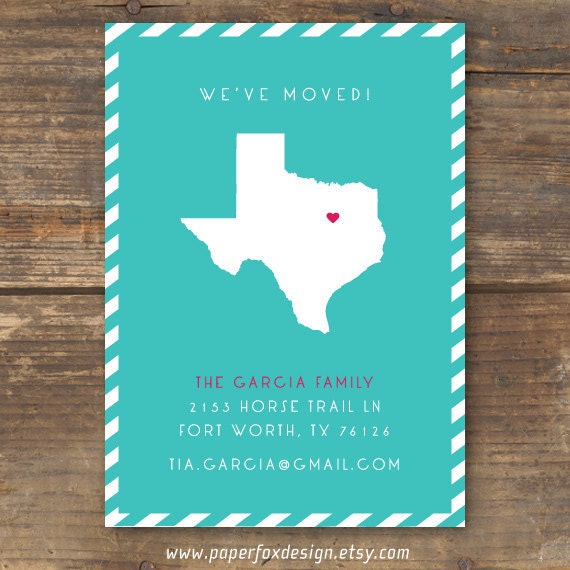
I am way happy to present to you this week's sponsor! I have a special place in my heart for stationary, cards, invites, and such, so I have had a really hard time deciding which of this awesome shop's listings to show you. I'd like for you to feast your eyes on Paper Fox Designs.
This is a one woman show run by Andrea and she has a huge passion for graphic design and making sure her clients get exactly what they're searching for. Take a look at some of what she has to offer at her shop:
These are customizable Valentine's for your child to hand out to all their friends and they're so unique and fun! How could you pass these up! These are so much better than any store bought box of Valentine's out there!
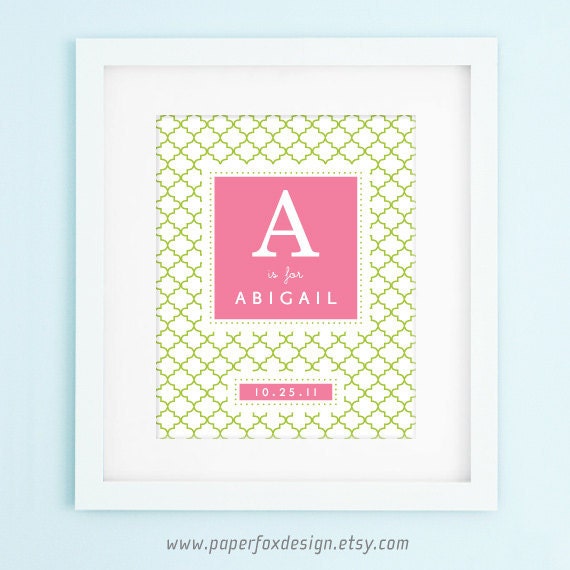
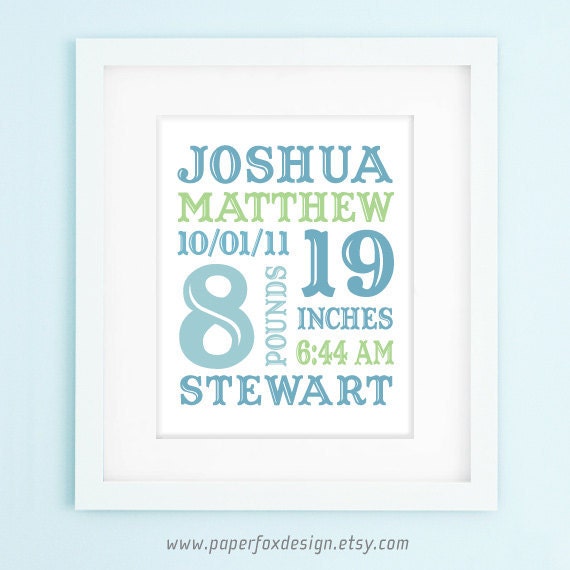
Simply awesome! Right?!?! Okay, how about something to frame and put in a nursery? Take a look:
Paper Fox Designs is giving one lucky BU&M reader a $25 Credit to use toward anything in the shop!!
Hello everyone!! First off, I want to thank Courtney for inviting me to guest post on her lovely blog!! Such an honor and how fun is this?
Well, I'm Victoria of vixenMade (a.k.a. Vixen) and I've been blogging for almost a year now, which is so crazy now that I think of it! The year flew by! I started blogging because I wanted a way of keeping my projects and crafts in a special place. Plus, I figured why not make tutorials to share with others and, of course, to keep for myself. I love crafting, sewing, diy-ing, and inspiring others so I knew I had to start a craft blog. Besides, you can only stalk other craft blogs for so long!I'm also a SAHM of 3 little ones (4 year old girl and 2 year old twin boys) and a wife. I'm from Canada, too, so a shout out to all you Canadians!! Whoop! Here's a few of my favorite projects/tutorials to check out! Infinity Scarf TutorialFabric Covered Shoe TutorialRuffle Pillow Tutorial
Anyways, today I'm sharing a fun Christmas project with you. It's a perfect gift for a baby or any little person really!
 Here's my tutorial on how to make a Gingerbread Man Rattle. What you need: brown feltscraps of red, green, white feltscraps of red ribbon2 black buttonsblack embroidery threadjingle bellpieces of a plastic bag or packagingpoly-fillsewing supplies
First of all, get yourself a drawing of the outline of a gingerbread man. I sketched one out, but you can find one here to print off. Then cut out your image.
 Take a piece of brown felt and fold it in half widthwise.
Pin your image onto the folded piece of felt and cut around the shape so that you'll have two gingerbread man felt shapes.
Whew! So, I had a very busy Thanksgiving and Black Friday shopping experience. We hit up Toys R' Us at 7:30pm on Thanksgiving and we went non stop to all the best places for deals including Wal-Mart @ 10pm, Target @ 12am, Kohls @ 1am, KMart @ 5am, Dick's Sporting Goods @ 5:45am, RadioShack @ 6am, OfficeMax @ 6:30 am, and Express @ 9am. It was exhausting, but TOTALLY worth it. Oh! and we scored an awesome deal online on a TV early Thanksgiving morning. It was A-MA-ZING!!
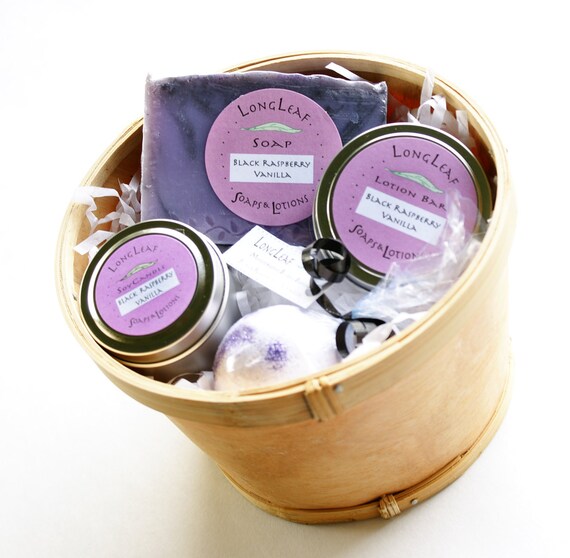
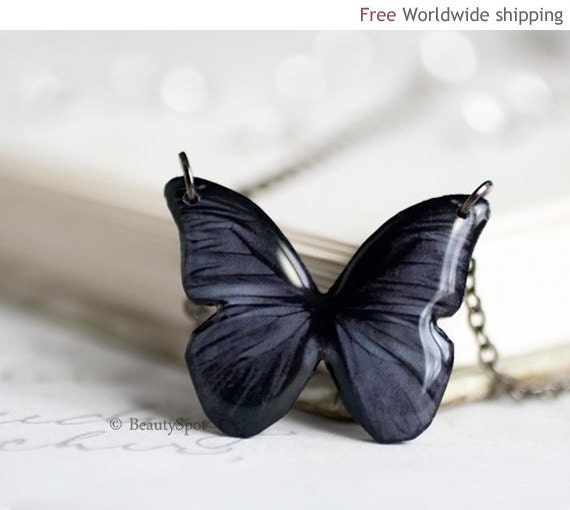
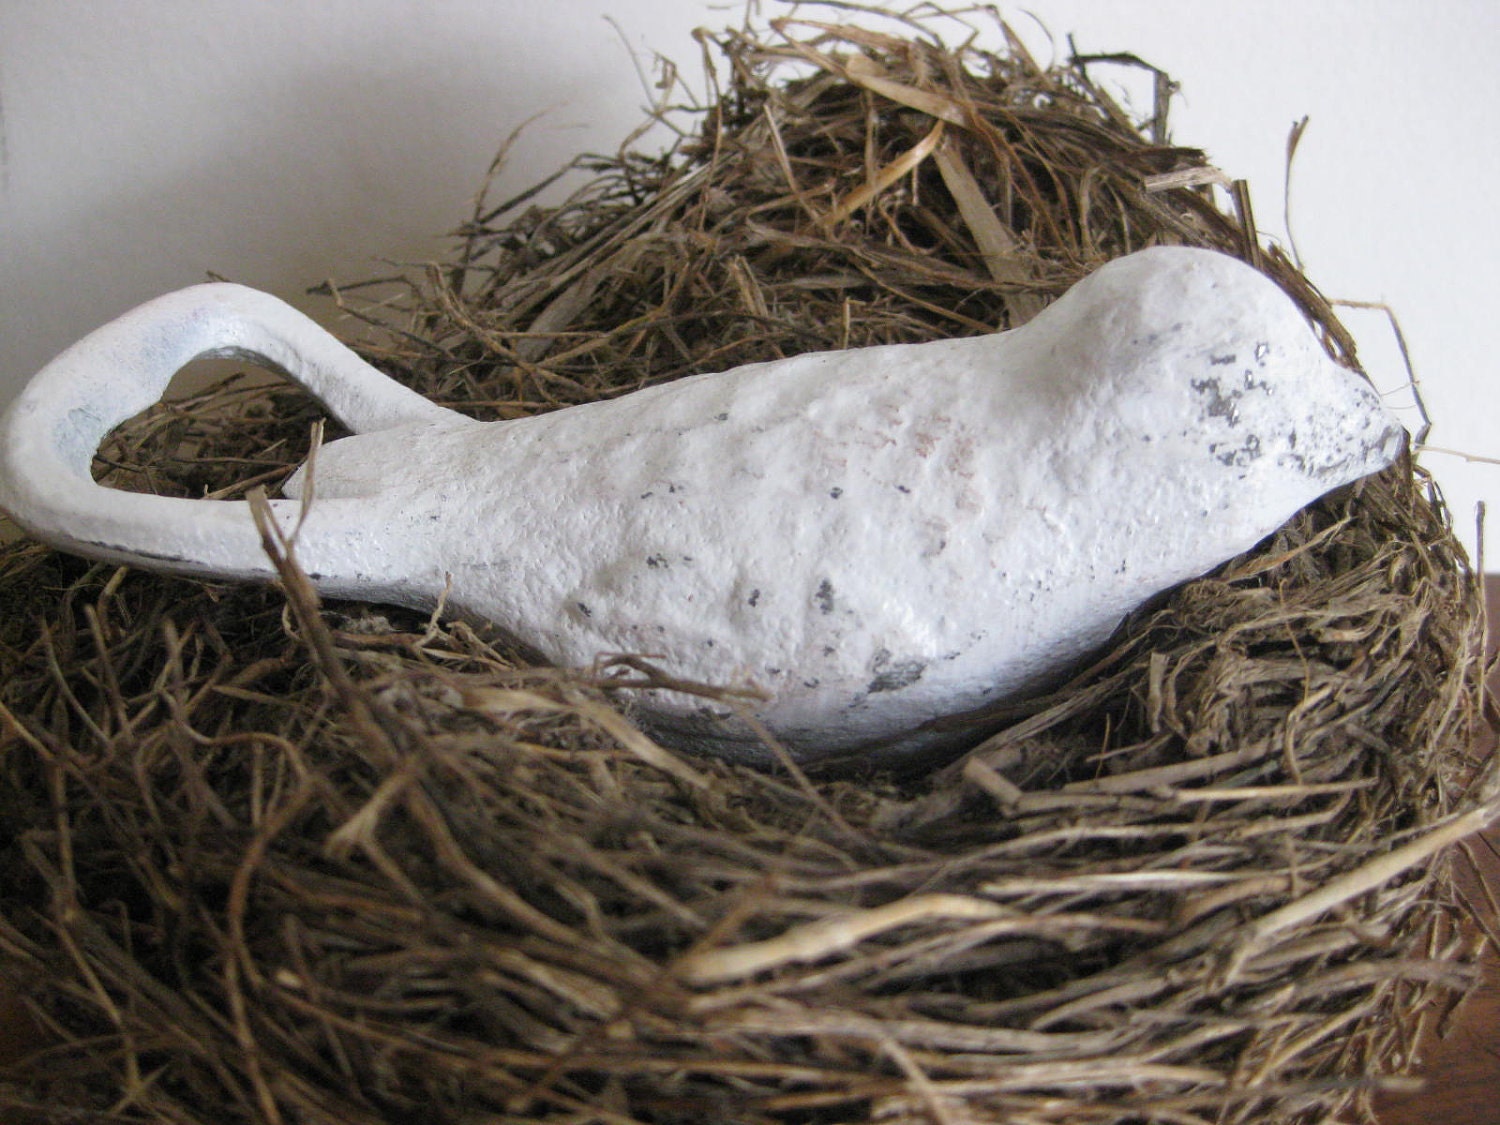
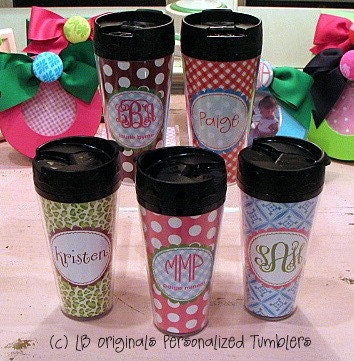
On my Christmas to-buy list this year are some handmade gifts that I'm buying from a couple different shops on Etsy. Here is a round-up of some of the most awesome handmade gifts available on Etsy. So, sit back, relax and maybe cross a couple people off your list by visiting a couple of these really cool shops!
Gifts for Her:
Gifts for Him:
Now, I know that most of us can only dream of giving our child a room like this, but these kinds of rooms can definitely inspire us to do something out of our comfort zone. I hope you enjoy and are inspired!
E went from a crib this year to her "big girl" bed and the Mr. and I have this notion that our children will move out with the furniture we bought them as a child, so we spring for the best quality you can find and where else to get the best quality, but Pottery Barn? So, we spent a pretty penny on her furniture, but I could NOT be any happier with it! I, seriously, love her room. It's on the main floor, so sometimes I go sit in there and "chill" sometimes and I'm still able to hear the kids playing in the living room. I wanted to give you a little tour of what we have so far,...
Here is the view of her room right when you walk in. (I'm standing in the doorway.)
 And when my mom saw it in the store, she decided she could make it instead. She cut out (with her Cricut) a gazillion butterflies and we ended up with the butterfly chandelier you see above for a fraction of the cost. She also cut out butterfly wall decals using the same butterfly image and contact paper for us and I applied them on the wall like a swarm of butterflies flying around E's room. I'm really happy with the way it all turned out.
Here's another shot of her pretty bed and her butterfly chandelier. I decided to go with cafe style shutters in her room and roman shades for the top half of the windows. our neighbors are very close on all sides and I thought this would give her privacy while still being able to let in a lot of light. Or, she could shut both the shutters and the roman shades and it gets very dark in her room for nap time. When I'm convinced E won't electrocute herself on the lamp she has on her dresser, I'll put that on her nightstand along with some other girly knick knacks.
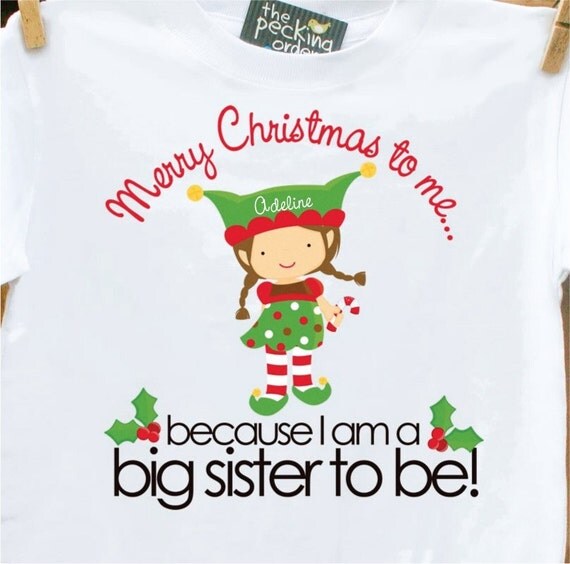
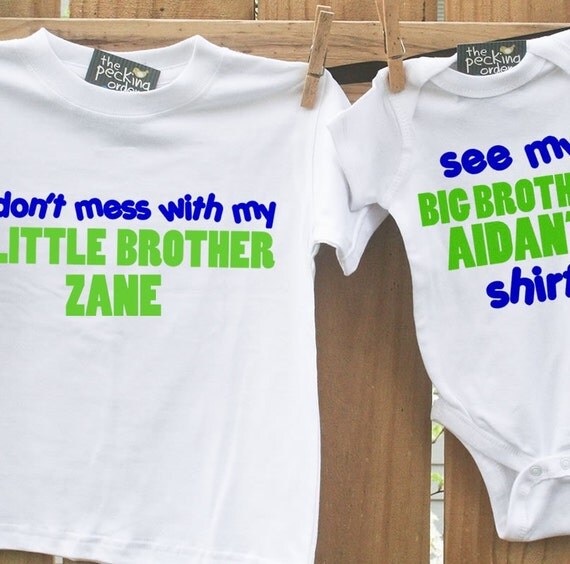
I'm super beyond excited to announce today's giveaway from Zoey's Attic which is home to the original Pecking Order Sibling Sets. These are the most adorable personalized gifts perfect for the upcoming Holiday season! (Wink-wink) Zoey's Attic has generously offered one lucky reader a $40 gift certificate to their awesome store! Here's a little bit about Zoey's Attic:

Zoey’s Attic officially launched in November 2006 by creator and owner, ErinDelanty. The inspiration for the website came shortly after Erin and her husband, Tim, welcomed the birth of their first child, baby Bridget, in August of that year. Bridget offiially became a big sister herself in May of 2008 and the inspiration continues!
After searching unsuccessfully for out-of-the-ordinary newborn baby tees on-line and listening to friends who were having difficulty finding unique big brother / big sister gear, Erin decided use her background as a graphic designer and web developer to design her own line of products.
And just in case you were wondering how stinkin' cute their products are, here is a little teaser:
Perhaps something for Christmas?
What about one of these adorable sibling sets?? SUPER CUTE!!


How about a shirt that would be perfect for a blogger like us?
Hi there! I am Chas from A Woman’s Haven. I am so excited to be here today introducing myself.
I started A Woman’s Haven two years ago to give me a place to showcase my love for my family, home, crafting & photography. I also love having a place to share the things that inspire me.
We are currently expecting a new addition to our family. Lately most of my inspiration has been all things baby. Nursery and baby projects are taking up most of my time right now.
Here are a few of those projects and a nursery sneak peek.
What an awesome day we are having here in Orange County, CA! The air is crisp, there is a cool breeze, and the sun is out to play! I love it! We have had some rainy days lately, and I love those too, don't get me wrong, but I love those days when you can totally tell that it's AUTUMN outside! Well, as much as you can here in So Cal. It's not like we really have too much of a season change in any direction.
We have been so busy in general the past couple weeks, but we were especially busy last weekend with birthday parties! I love em', because we get candy, cake, BBQ's, and lots of good friends to share it with. For one of my dear friends, I made a ribbon mobile for her daughter's birthday gift. A couple months ago, I was inspired by this mobile from Pottery Barn Teen:
It is so stinkin' cute (as are most things out of that darn catalog), but for $70 I told myself, I can totally do that! Also, it only came in the purplish color you see above. My friends play room is a mixture of pink, green, and white and she sort of has a polka dot theme going on, so I decided to go for it.
After a couple weeks and many trips back to the craft store for more ribbon, I finally finished and this is what I ended up with:
I just bought two metal rings from Joann's and spray painted them white. Then I cut all my ribbon to 27 inches. I measured my rings around so I knew how much room I had to work with the ribbon placement. Then, I laid out my tape measure and placed all my ribbon along the tape measure and moved different pieces around to I had the look I wanted. After that, I took my hot glue gun and put a tiny dab of glue on the end of each ribbon and wrapped it around and glued it to itself. After a couple hours,... Viola!
Then, I took the clear line that you use for jewelry making and tied 4 strands onto each metal ring and then gathered it at the top and tied a knot. To hang it from the ceiling, you just have to buy one of those small hooks that has a screw on the end and twist that little guy up in to your ceiling and there you have it.
My friend absolutely loves it and I loved making for her!
Click HERE to see where I'm linking to and don't forget to join in on the fun!