.
Hey everyone! GFC will be discontinued soon for Wordpress Blogs, so be sure to follow with LinkyFollowers instead! I don't want to lose any of you! Thanks!! :D
Showing posts with label Craft. Show all posts

Dollar Store Favor Box Makeover - {Tutorial}

Hey everyone! Today, I have a guest post by The Rebel Crafter to share with you! This is such a unique and fun idea for any girly occasion! Enjoy!
--------
Happy new Year Rebel Crafters! I hope you all enjoyed your Holidays!
If you have a wedding shower, birthday, or bachelorette party coming up then this party favor makeover is a fun and inexpensive project. When I was at the dollar store I noticed a package of wedding dress party favor boxes. 10 for a dollar, what a deal! Good design is all around us, but sometimes the execution is not the greatest. In this case the dress boxes are pretty washed out, but again at 10 cents a piece I knew they had great potential. I took the package home and worked out how to easily make them over into fun, and eye catching party favors. All you need is scrapbook paper, some embellishments, and a spool of inexpensive pliable wire to make the mini hangers. This project is very similar to paper dolls, you get to "dress up" your boxes. Once made they could hold chocolates, almonds, mints, M&M's, little nail polish or a small gift. The dress theme possibilities are endless just by changing the paper style. Add tulle to the front of the dress and it could be a little girls princess dress. Use leopard print and hot pink for a bachelorette party, or shower. I made my boxes in a variety of papers so you could see how different they can look depending on the paper choice. They are fun, and easy to make. My 8 year old Daughter made a bunch!
You will need:
Wedding dress Favor Boxes (I found mine at the Dollar Tree store. They come 10 boxes for $1). I have the link to Dollar Tree at the bottom of the page but they also include the groom boxes online. 
Scrapbook Paper
Spool of pliable inexpensive wire (I used what I had on hand so I am not sure of guage. Just look at the inexpensive wire in the jewelry section at the craft stores and find one that is thick enough to make a small hanger)
Embellishments of Your Choice (I used bling on a roll for the gem sashes, and ribbon flowers).
Taper Runner and Glue Dots
Thin ribbon to tie the box together (optional) you can use the sheer white ribbon that comes with the boxes. 
Scissors 
Wire Snip (optional, you can use scissors)
ColorBox Chalk Inkpad (optional) if you want to distress your box edges.

Jelly Toast Coasters - {Tutorial}

Oh I am so excited to be here today! I have a cool project that I am tickled to share with you!

My name is Janel and I blog over at Hating Martha. I believe in fun, imperfection, craziness, and joy! My blog is full of crafts, decorating, recipes, nonsense, and more. Nothing too serious, nothing professional, everything exactly perfect! I would love for you to hop over sometime to share in some smiles and giggles! Okay, enough about me. It's time to get on with the craft. I am practical. I am quirky. And I love when the two come together in a craft! Like this...

Woot woot! Aren't these too fun!
Simple, inexpensive, and easy! Here's the how-to...
You are going to use a square of cork. (You know, the kind that come in packs of 4)
Print out the piece of bread coloring page at abcteach.com found here.
Then cut it out... This is your template. Unless you are a great free-form bread drawer. Then go for it!!
Trace around that template in each of the 4 corners.  

Kids Bathroom DIY Art on Canvas - {Tutorial}


We are always whipping out the markers, chalk, paint, glue, and so on for the kiddos to make their own little masterpieces. I always think that each creation is as good as any Van Gogh or  Monet (I'm there mom, c'mon) and so when I was asked to do a guest post for A Couple of Craft Addicts for their Kids Craft Week, I knew I was putting my little prodigies to work.


The kids have a blank wall in their bathroom that was yearning for some attention, so we decided to spruce it up with some canvas love.


What you'll need:
Four 8x10 canvas 
Assorted acrylic paints
Paint brushes
Foil adhesive letters


1. Smock-up your kids.


2. Leave out the paint, brushes, and canvas. (They'll know what to do.)

Cool Stuff - 10 Lovely Valentine's Crafts


Love is in the air! I LOVE seeing all the beautiful Valentine's creations out there and I have been bookmarking things left and right. Here is a little round-up of some of my most favorite Valentine's crafts!


Red Burlap Heart Wreath @ Gallamore West

Sweetheart Valentine Banner @ Every Creative Endeavor

Sweetheart Napkin Rings @ Echoes of Laughter

Twig Valentine's Tree Tutorial @ Helping Little Hands

Valentine Chair Envelope @ Lookie What I Did

How to Make A Love Boat Out of a Milk Carton - {Tutorial}

This was a pretty popular post from last year and I just wanted to share it with y'all again, just in case you missed it. ;)
--------
Well, Valentine's Day is rapidly approaching and did we get out the Valentine's decorations? -- wait,.. do I even have Valentine's decorations? I dunno,... but, they didn't come out to play this year. I think I'm still soaking in the plain-ness that is my home after all the Christmas decorations came down. Ya' know? I did see an awesome Valentine's project in one of the many magazine's that make a monthly (or weekly) trip to our house and I just couldn't resist. It's so simple and I knew my big kiddo would absolutely adore it.  He's a total boy, so anything plane, train, or automobile (or boat) is a winner. So, today Mommy was "the best Mommy, ever!" I kid you not, he actually said that to me when I got done with this thing and showed it to him. He was a little bummed out to hear that he couldn't "play" with it and that it was only for keeping his Valentine's cards in, though.


Now, I can't for the life of me remember what magazine I saw this in, but here's how you start...

Take a milk carton and either, tape the spout closed or cut off the plastic spout or you can do what I did and just push it in.  Then, cut a piece of cardboard (like from a cereal box) at 3 3/4 x 10 inches.

Cool Stuff - 25 Ways to Organize Your Life in 2012


I'm not big on resolutions. Don't get me wrong, I'm not against them as a whole. They're just not for me. It seems like no matter what it is, I can NEVER get close to achieving it. I've done the whole, "don't set the bar too high" thing. And still,... never even close. BUT, I do like a good house organizing and boy, do we need it right it now. So, I lassoed up a big collection of ways to get in gear for 2012.


Crazy Cute Link Party #32 and Simply Trendy Giveaway


Welcome to the Crazy Cute Party at Between U & Me! If this is your first time here, make sure to become a follower so you don't miss any of the awesome giveaways, tutorials, before/afters, and so much more! ;D


This week's giveaway is from a shop called Simply Trendy and it is run by the same shop owner of last week's giveaway! Exciting, right?!?!
--------
Simply Trendy Designs is bringing you accessories that are affordable and unique. 


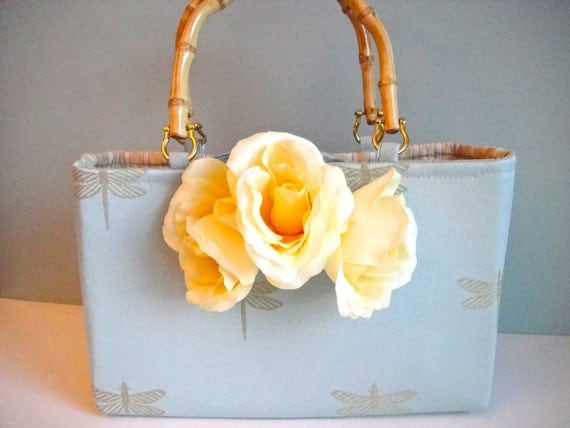
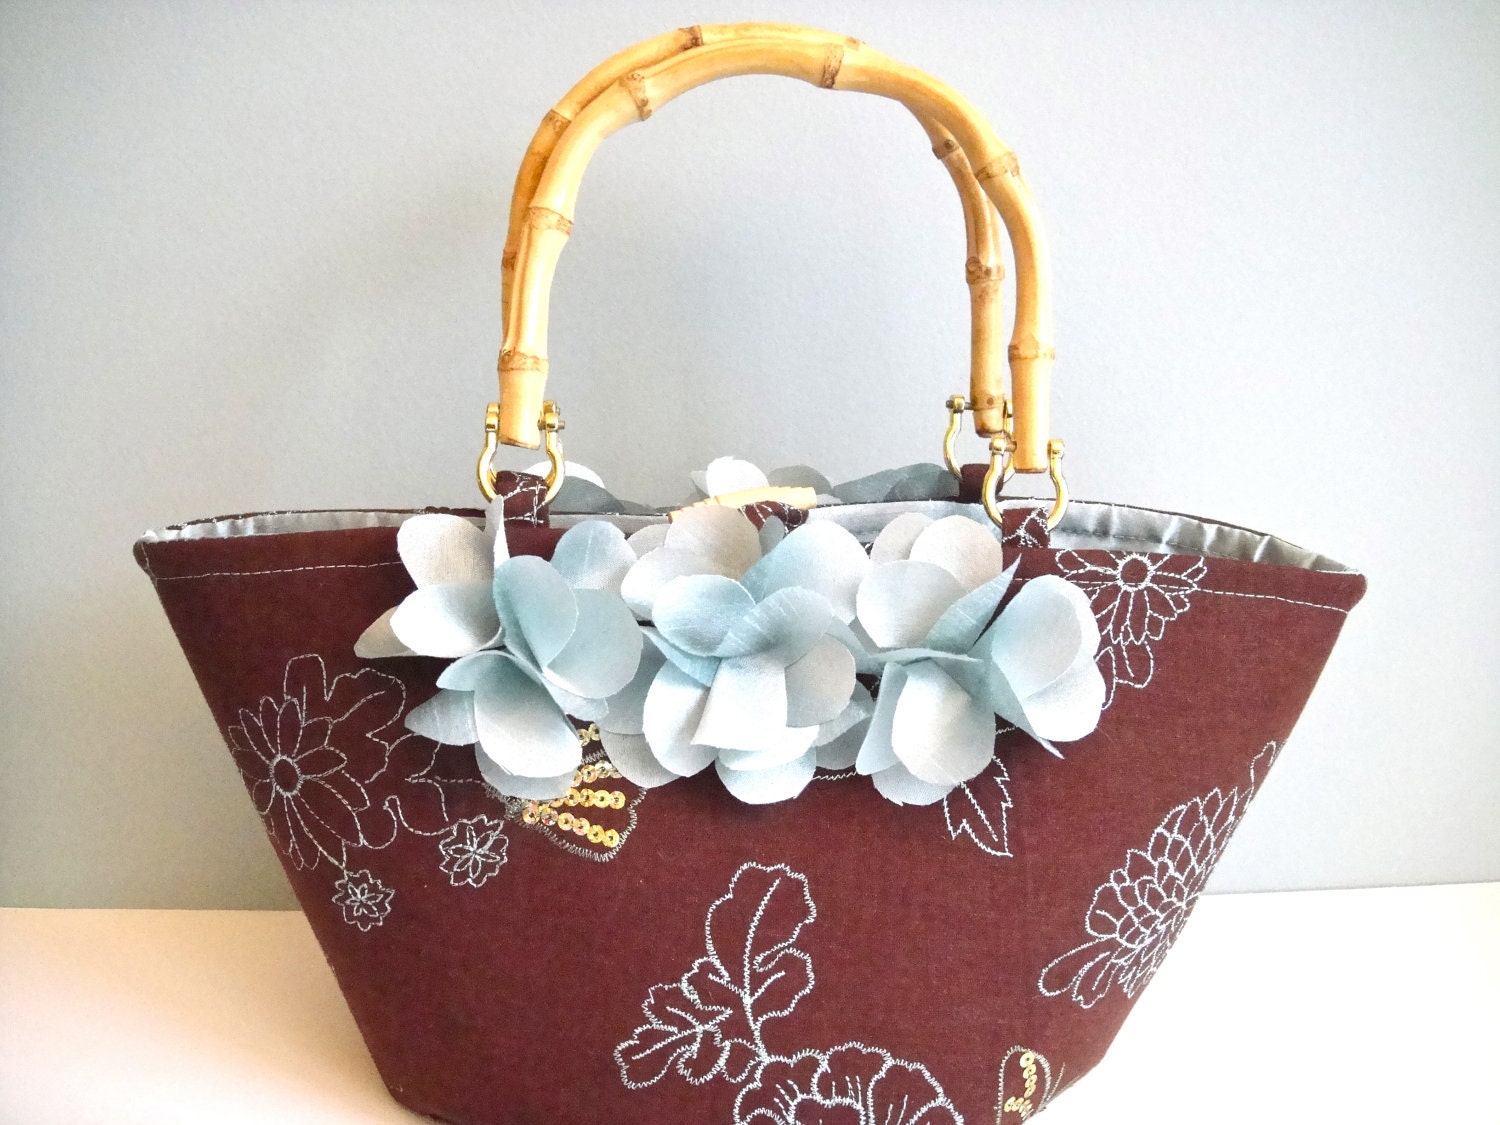
She also has these absolutely beautiful totes!

--------
Simply Trendy is giving one lucky BU&M reader a $35 Gift Certificate!

The Best Of: Crazy Cute Party #31


Christmas Candy Cane Centerpiece - {Tutorial}

Today, I'm going to do a super easy tutorial on how to make a very awesome centerpiece for your table. Actually, it could really go anywhere,... it's just so purdy. Okay let's get started:


What you'll need:
3 Boxes Candy Canes
1 Glass cylindrical vase
Alotta hot glue
Flowers to put in your vase
Red ribbon
1 Spearmint

1. Wipe off your glass vase. (If yours is anything like mine was, it has dust all over it.)

2. Unwrap your candy canes and carefully position the first one on the vase and determine how tall you would like it. I cut about a 1/4 inch off the bottom of most of mine. Make sure you put each candy can up to the glass before you glue it down, to see if it needs to be trimmed. Candy canes are not identical, like I thought they were. Some are shorter than others.


3. Continue to go around the vase, gluing as you go.

Gingerbread Man Rattle - {Tutorial}


Hello everyone!!  First off, I want to thank Courtney for inviting me to guest post on her lovely blog!!  Such an honor and how fun is this?  


Well, I'm Victoria of vixenMade (a.k.a. Vixen) and I've been blogging for almost a year now, which is so crazy now that I think of it!  The year flew by!  I started blogging because I wanted a way of keeping my projects and crafts in a special place.  Plus, I figured why not make tutorials to share with others and, of course, to keep for myself.  I love crafting, sewing, diy-ing, and inspiring others so I knew I had to start a craft blog.  Besides, you can only stalk other craft blogs for so long!
I'm also a SAHM of 3 little ones (4 year old girl and 2 year old twin boys) and a wife.  I'm from Canada, too, so a shout out to all you Canadians!!  Whoop!  
Here's a few of my favorite projects/tutorials to check out!  
Infinity Scarf Tutorial
Fabric Covered Shoe Tutorial
Ruffle Pillow Tutorial
Anyways, today I'm sharing a fun Christmas project with you.  It's a perfect gift for a baby or any little person really!  
Here's my tutorial on how to make a Gingerbread Man Rattle.  
What you need:  
brown felt
scraps of red, green, white felt
scraps of red ribbon
2 black buttons
black embroidery thread
jingle bell
pieces of a plastic bag or packaging
poly-fill
sewing supplies
First of all, get yourself a drawing of the outline of a gingerbread man.  I sketched one out, but you can find one here to print off.  Then cut out your image.
Take a piece of brown felt and fold it in half widthwise.

 Pin your image onto the folded piece of felt and cut around the shape so that you'll have two gingerbread man  felt shapes.