.
Hey everyone! GFC will be discontinued soon for Wordpress Blogs, so be sure to follow with LinkyFollowers instead! I don't want to lose any of you! Thanks!! :D
Showing posts with label Jewelry. Show all posts

Beautiful Safety Pin Bracelet - {Tutorial}

I'm so excited to be here guest posting today.  Just a little introduction, I'm Kimberly from The Brown Eyes Have It.  I'm trying to be the best wife and mother I can be and having a little fun along the way and I blog about all that includes.  Also today is my birthday! Yeah!!  So as I was thinking of what I could post about, what the date was, realizing my littlest three need a birthday present for me, and I wanted a new watch, so that's what we're doing today - an easy safety pin watch or bracelet.


Supplies:
Safety pins - around 60 for a watch, around 70 for a bracelet
Stretchy cord - 2 pieces about 20" each - I used 1 mm thickness, you can use thinner, but the thicker
     it is the stronger it is
Seed beads - picture shows two tubes, but I only needed one
Watch face - I forgot that in the picture, oops.  A face with bars or holes in edge of the face is fine. If
      you use a face with holes, make sure your cord is small enough to fit through the holes.
Clear nail polish or super glue


Open the pins and start loading the beads on.  If you want a random pattern, the easiest thing to do is dump the beads in a bowl and just start scooping the pin through.  Or, you can painstakingly pick out each bead and slide it on the pin in precise color order, the choice is yours. :)
After you've loaded all the beads onto the pins, start stringing the pins on one of the pieces of string.  String them head up, head down, head up, etc.  It makes them lay them nicer.  Also make sure they're all laying the same way, either the clasp (beaded) side all up or the blank side up, just make sure they're the same.  Really, take a look through them and make sure they're all the same, not that I had any experience with this. :)  Lucky for me, my upside down one was towards the end.


After you've got them all strung on one string, string the other cord through.

Cool Stuff - 20 Handmade Holiday Gifts {1}

Whew! So, I had a very busy Thanksgiving and Black Friday shopping experience. We hit up Toys R' Us at 7:30pm on Thanksgiving and we went non stop to all the best places for deals including Wal-Mart @ 10pm, Target @ 12am, Kohls @ 1am, KMart @ 5am, Dick's Sporting Goods @ 5:45am, RadioShack @ 6am, OfficeMax @ 6:30 am, and Express @ 9am. It was exhausting, but TOTALLY worth it. Oh! and we scored an awesome deal online on a TV early Thanksgiving morning. It was A-MA-ZING!!

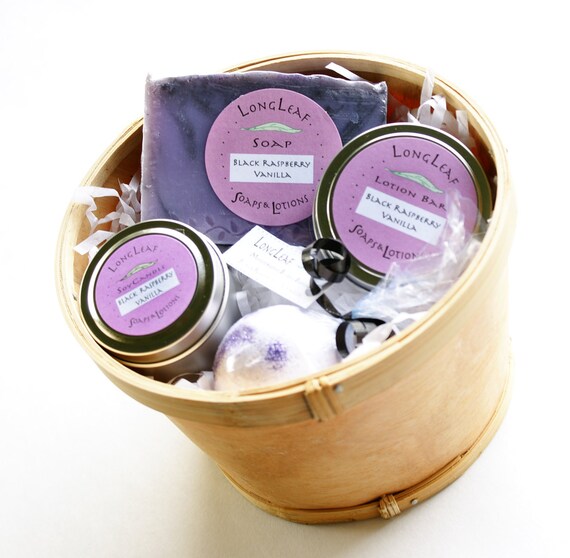
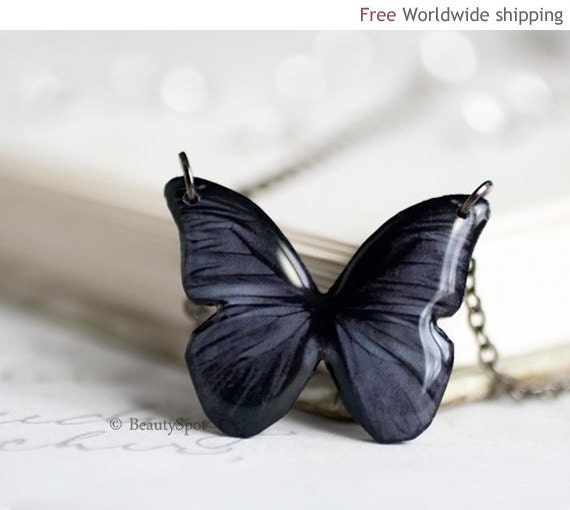
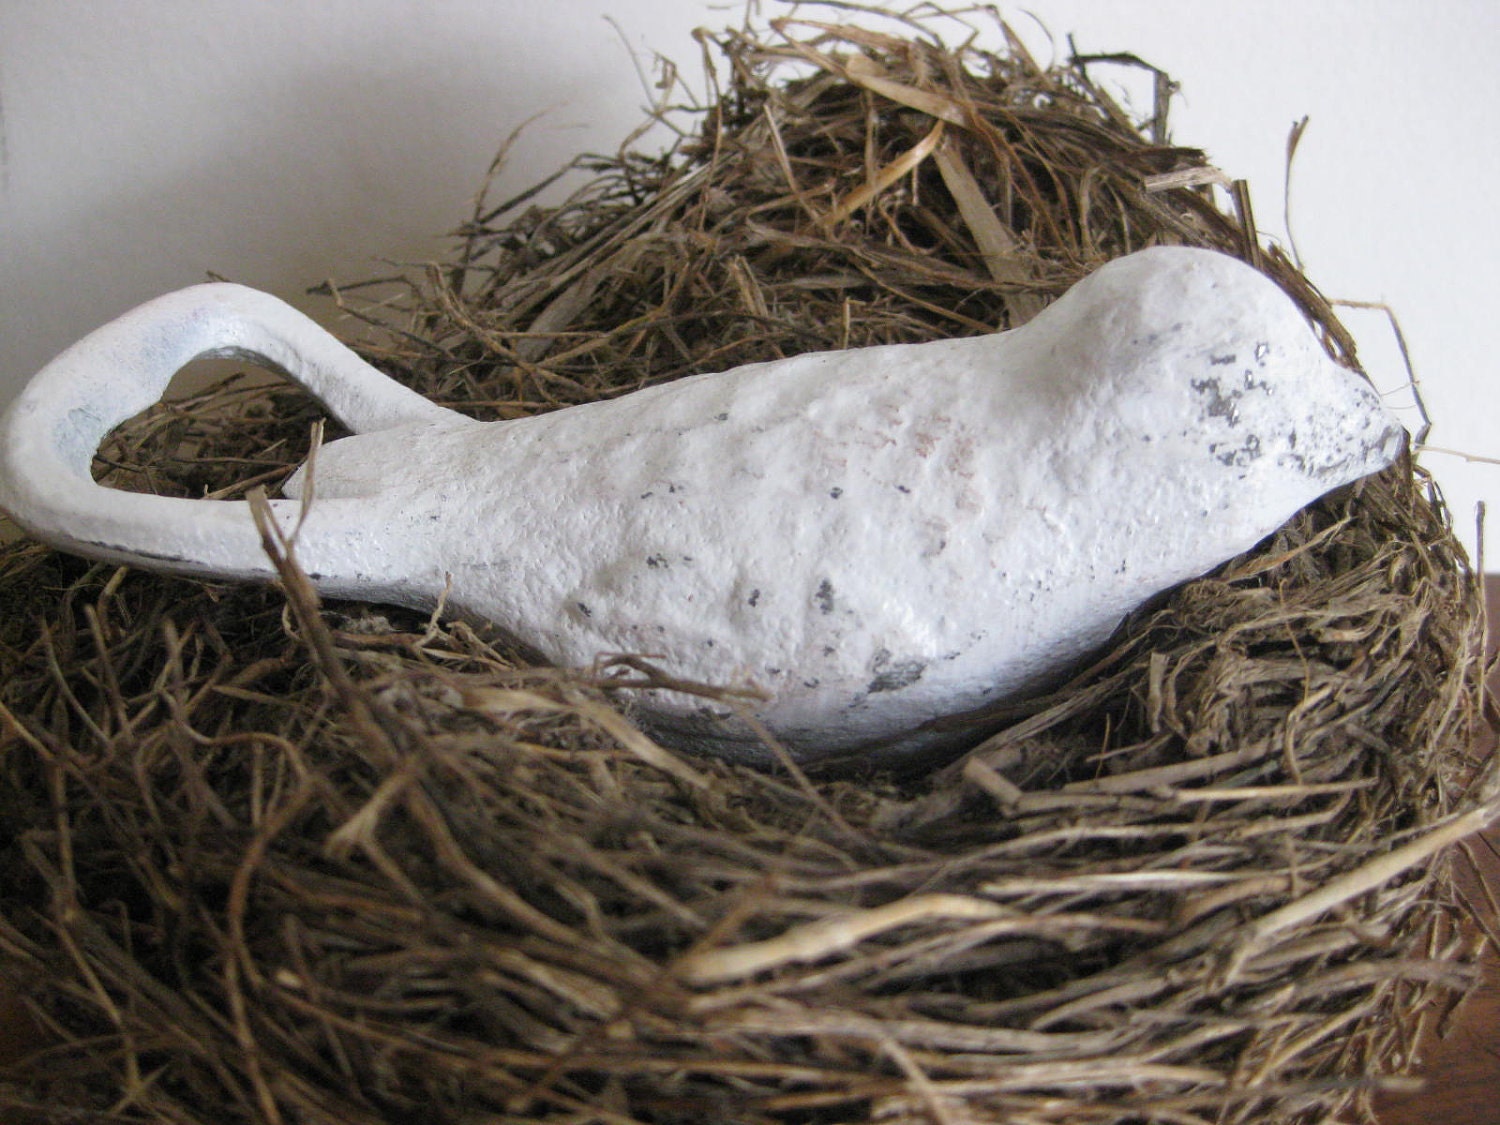
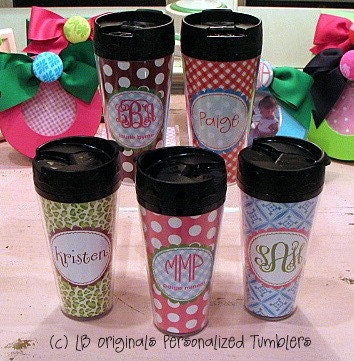
On my Christmas to-buy list this year are some handmade gifts that I'm buying from a couple different shops on Etsy. Here is a round-up of some of the most awesome handmade gifts available on Etsy. So, sit back, relax and maybe cross a couple people off your list by visiting a couple of these really cool shops!


Gifts for Her:


Gifts for Him:

Styrofoam Jewelry Hanger - {Tutorial}

Today, I'm going to do a little tutorial on how to make the EASIEST custom jewelry hanger, that you can hang right on your wall. These ones I did in pinks and greens for E's room.  These would be perfect as a gift, too! Any girl (little or grown) would love to have some of these to hang all their pretty jewelry on! Let's take a look:


What you'll need:
2 pieces of styrofoam
2 pieces of scrapbook paper
Screw-in hooks
Hot Glue
Sawtooth Hanger
Spray Adhesive
Embellishments

1. Start out by cutting your scrapbook paper to fit your styrofoam. Don't forget to cut strips to cover the sides.


2. Then, using your spray adhesive, adhere the paper to the styrofoam. To make the stick hold even better, spray your surface and then let it sit for 1 minute before you adhere the paper to the styrofoam.


Announcement: {Winner} for HomeStudio Giveaway


I am so happy to announce the winner of the $25 HomeStudio giveaway goes to Kim @ The Root Cellar.


Congrats Kim! Contact me and I'll give you all the details!

{Note: I used random.org to select the winner tonight.}

Crazy Cute Link Party #26 - and HomeStudio Giveaway

Thursday,... WATCH OUT! Here we come!
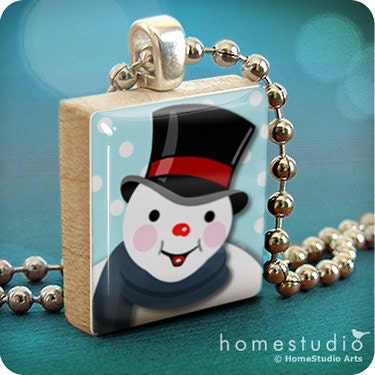
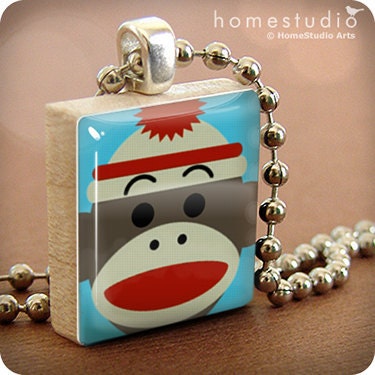
I am beyond, beyond excited to show you this week's giveaway! It comes from two very talented people (husband and wife), Stef and Mark of HomeStudio.
Stef and Mark began their joint effort as jewelry artists in 2008. This mom-preneur had a goal to raise a family and a business together. She reined in the creative talents of artist husband, Mark dedicating their whole home into an art studio.
HomeStudio began as an offshoot of Stef and Mark's interior furnishings business. As real estate was taking a nosedive a few years ago, home furnishings had to follow. At the time, Stef was making her name known as a jewelry instructor while Mark was showing his art in galleries. Both had backgrounds in fashion retail as well. Creating miniature pieces of art as jewelry and combining this with an eco-friendly focus (incorporating used Scrabble game pieces) seemed to be a creative no-brainer.

Announcement: {Winner} for Victoria's Own Jewelry Giveaway

This was such an exhilarating link party this week for a couple reasons:
1. Because it was the most link ups EVER! (Go YOU!)
2. And because it was Between U & Me's very first giveaway!


I'm thrilled to announce the winner of the $10 Victoria's Own shop credit goes to Jenny @ Simcoe Street!

Congrats Jenny! Contact me and we will get your shop credit all set up! :D

{Note: I used random.org to select the winner tonight.}