.
Hey everyone! GFC will be discontinued soon for Wordpress Blogs, so be sure to follow with LinkyFollowers instead! I don't want to lose any of you! Thanks!! :D
Showing posts with label Fall. Show all posts

Burlap Wreath - {Tutorial}


Today, I have an awesome tutorial from Courtney Eads over at Sylize Designs:
--------
I love burlap and this is a fun, easy, and inexpensive idea that makes a great difference on your front door!
Supplies:
Floral Wire (I used 18 gauge, but really anything over 12 will work)
Wreath Frame (You can buy one at Hobby Lobby for $9)
2-3 yards of Burlap Fabric
Wire Cutters
Ribbon and Raffia for Bow (optional, get creative and use anything!)

Step 1
Cut 10-12 strips of burlap that are about 4″ wide and 7 feet long (be ware- burlap sheds like crazy! Get your vacuum on call)
Step 2
After all the strips are cut, begin folding one strip at a time. I folded a strip back and forth, back and forth (about a 2-3″ loop) until I had finished the strip and then threaded the floral wire through the folded strip. I found it easier to fold it before putting the floral wire through vs trying to fold it onto the wire because the wire is flimsy.
Step 3
Continue to fold all the strips until you have threaded all 10-12 folded strips onto the wire. Make sure you buy the floral wire on the round roll instead of the 12″long pieces, otherwise you have to link all the pieces together.

Step 4

Cool Stuff - 11 Inspiring Fall Mantles {Part 1}

My house has slowly started to turn Christmas, but I'm still holding on to the fall mantle we've got set up right now. I am adding a thing here or there every day and I've almost got it the way I like it. Just in time to take it down, probably. Here is a round-up of some of the most inspiring Fall Mantles out there! Enjoy!


The Best of: Crazy Cute Party #26

This last week's link party was out of control! The links just kept coming and coming and coming! Every week, I am blown away by all you talented people out there! Ya,... I'm talking about you! Super talented person you are!

Let's take a peek (probably more like a long stare, though) at some of the most popular links from last week!

Make Your Own Camera Bag @ The Train to Crazy


DIY Key Display @ The Feral Turtle

Thrifty to Nifty Candelabra @ Maiden D'Shade

Plaque Attack @ Just Another Hang Up

Fairy Ballerina Party @ House of Smith's

My Craft Room @ Shabby Love

William Sonoma Fall Wreath Knock Off @ Cup of Delight

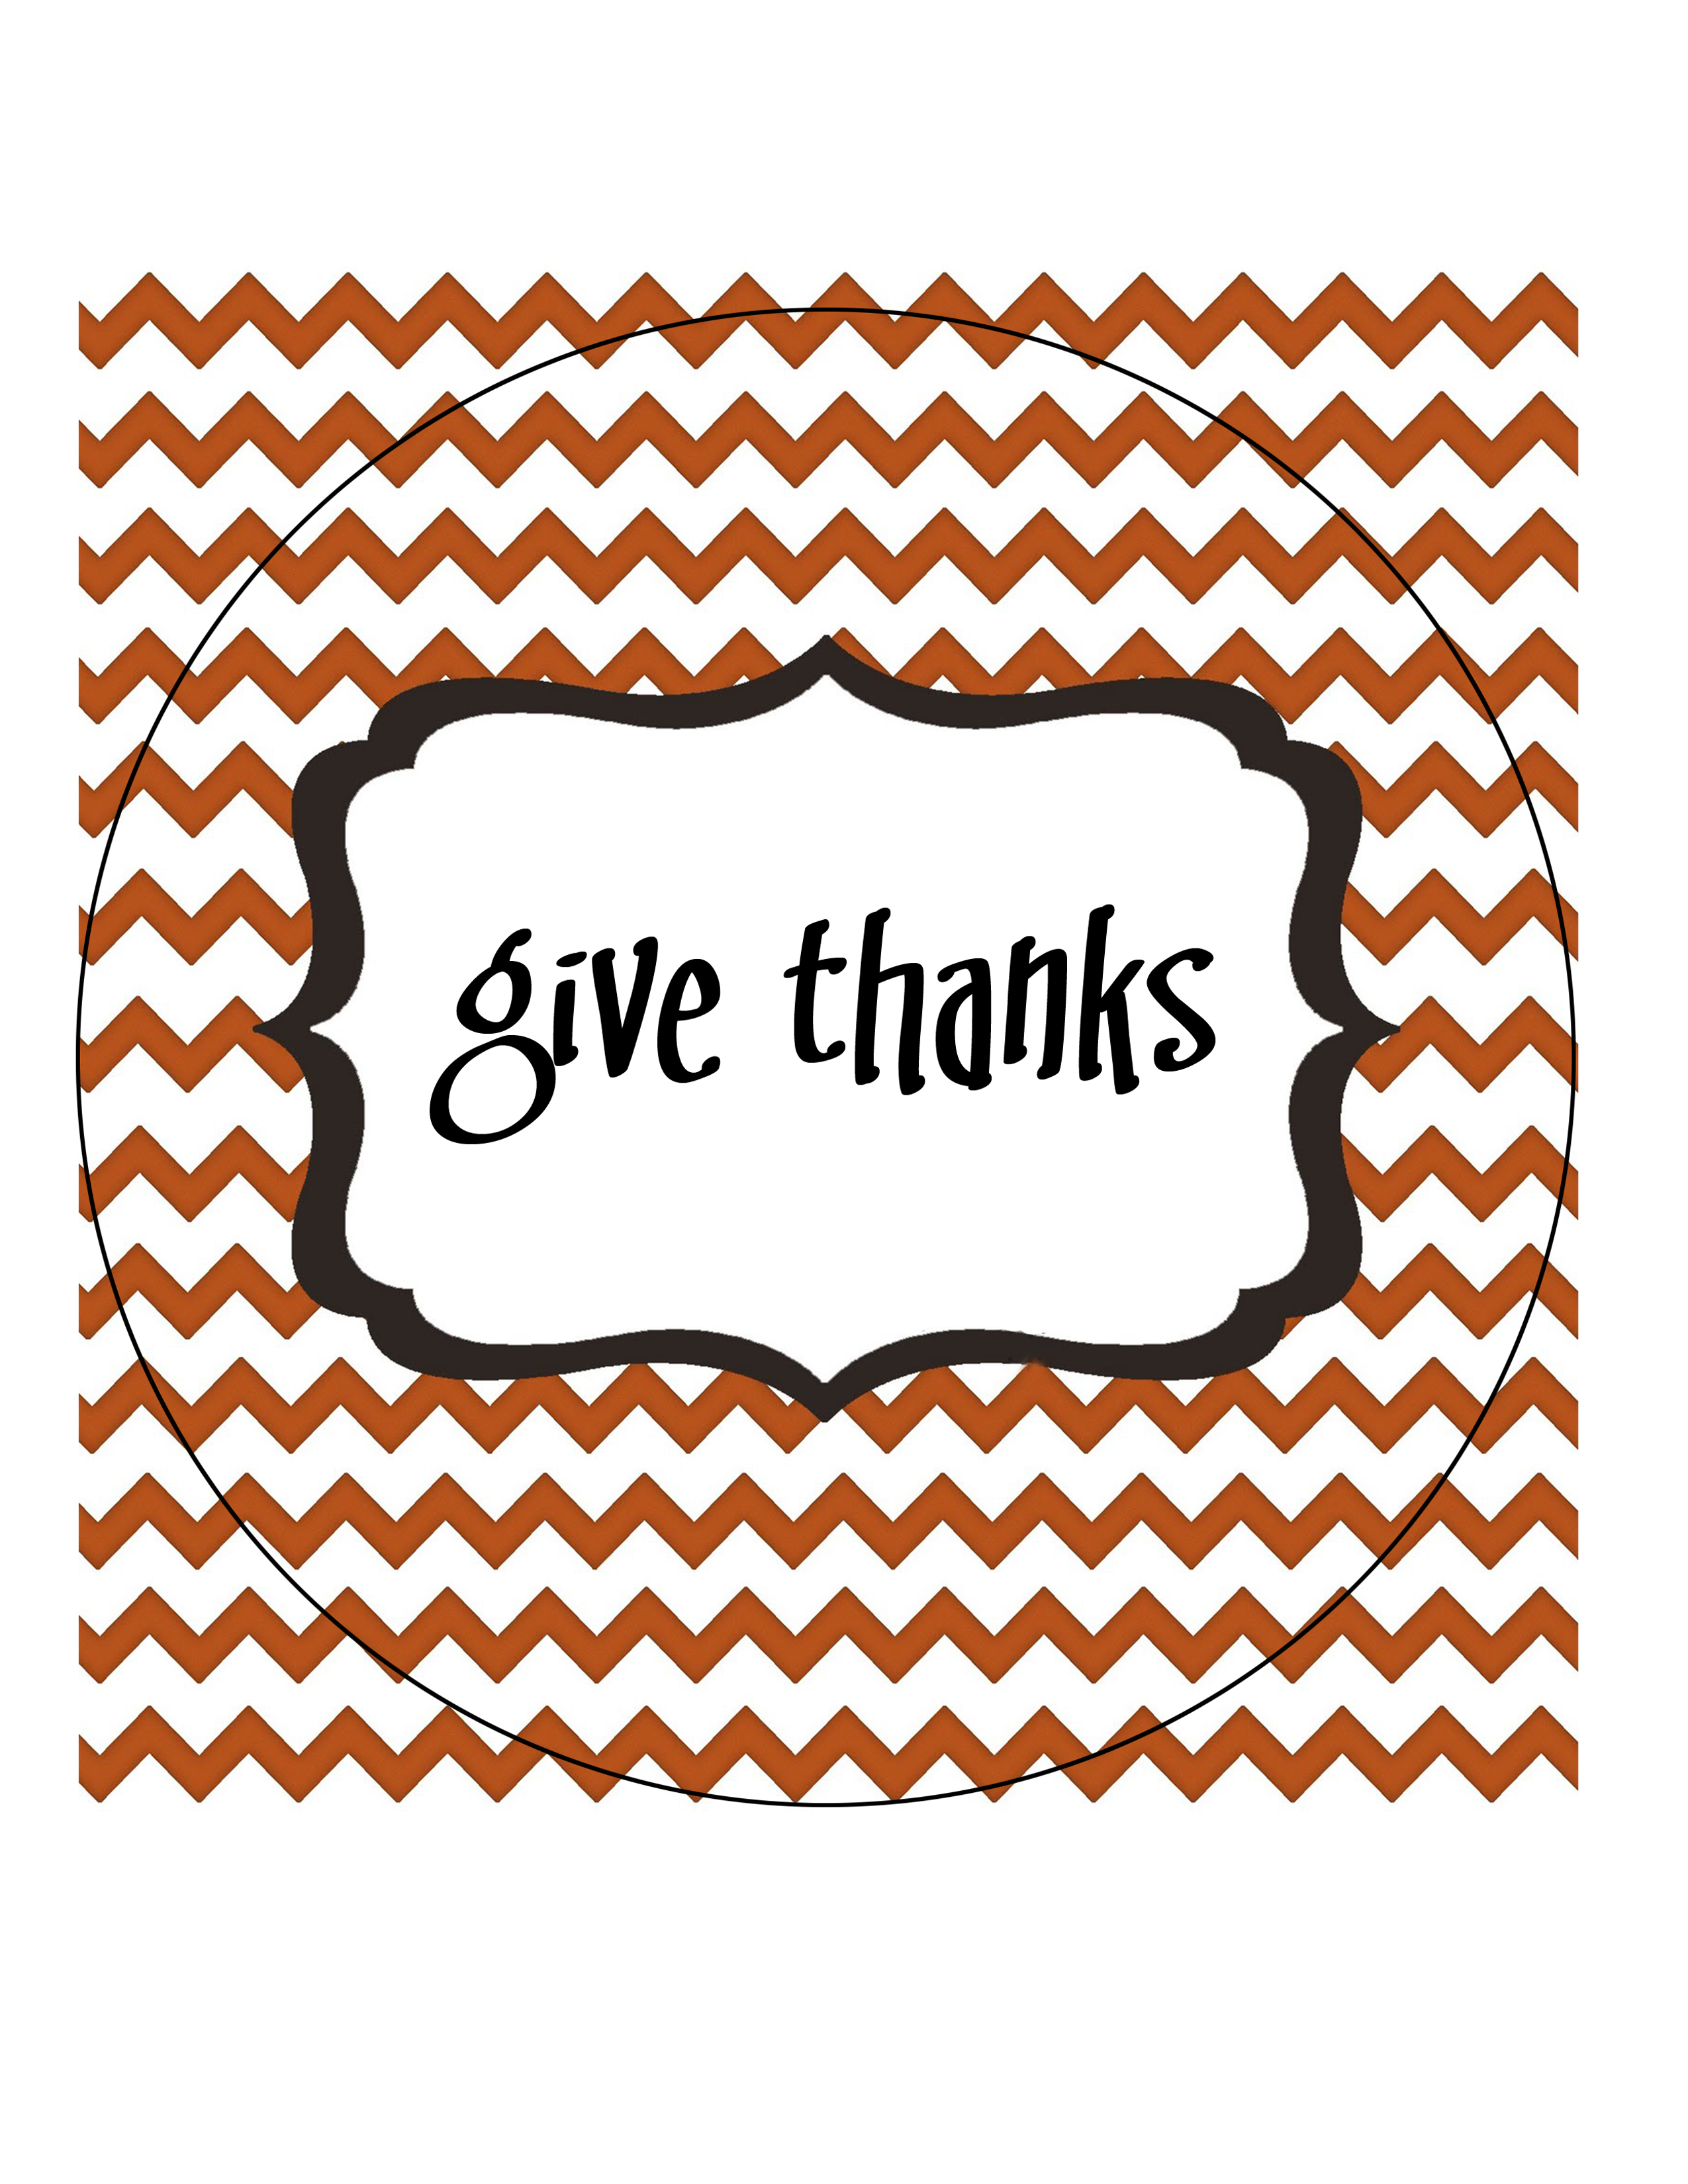
Thanksgiving Printables @ Blooming Homestead

All The Leaves Are Brown @ Kathe With an E

Christmas Tree Skirt Tutorial @ The Tanners

Weren't those just awesome! I think so, too! 

A great big "THANKS" to everyone that linked up last week and I hope you'll do so again this week! If you were featured today, please grab a button from my sidebar. I love seeing them around blog land. It makes my heart sing.

Turkey Favor Tins - {Tutorial}


Hi everyone, I'm Angie and I'm so excited to be a guest poster here at Between U & Me! Thanks so much, Courtney, for inviting me.

I blog over at Burton Avenue where I love to share simple and inexpensive craft projects. I especially love all things vinyl! I have been blogging almost 4 years, but never really liked sharing craft projects on our family blog. So, earlier this year, Burton Avenue began.

I have been married for 10 years and we have 6 cute little kiddies (9 years and under). They keep me busy! I love blogging because it gives me a chance to take a break from the day to day tasks of being a mom. I also love that it keeps my mind busy and gives me such great motivation.

Since Thanksgiving will be here soon, I want to share a project that is perfect for the big day. I remember when I was little, my mom would always help me make a cute favor to put on the table by each plate. I still enjoy making favors for everyone and here is what I will be making this year-Turkey Favor Tins.


Here is what you'll need to make them:
Card stock (I used 8 different colors)
Googly Eyes
Foam Sticky Tabs
Favor Tins (I got mine at Michaels in the wedding section)
Glue
Distress Ink

First, you'll need to cut out all the pieces. I used my digital cutter, but most of the shapes are pretty simple and can be cut by hand (there's a printable template at the bottom).

Cool Stuff - Thanksgiving Printables

I'm psyched to get rollin' with the upcoming Holidays and the little wheels in my head are already turning, imagining all the Holiday projects I plan on doing this year! I thought I would jump start the Thanksgiving festivities with a collection of great Thanksgiving printables. So, grab a cup o' joe (or glass of wine) and lets get started!


The Best of: Crazy Cute Party #25

Okay, y'all are really giving a girl a tough job sorting through these amazing links! I LOVE it!! Keep em' coming! :D


Take a look at some of the awesome links that were shared last week!


Bat Cake Topper @ Uncommon

Homemade Shutters @ Shabby Love

Jeweled Pumpkin @ Suzy's Artsy-Craftsy Sitcom

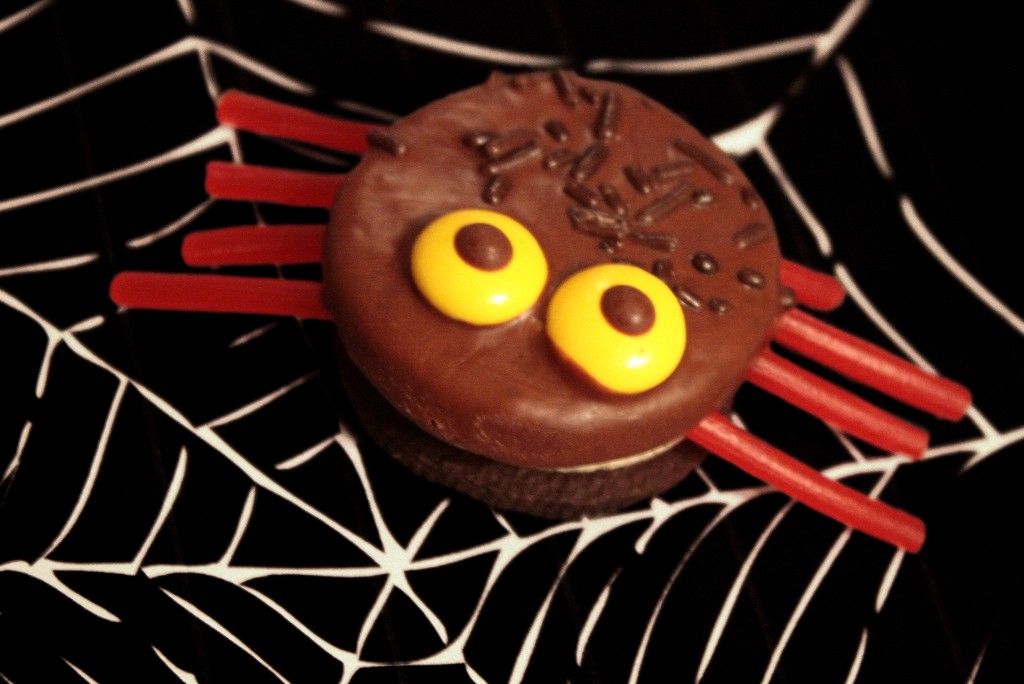
Oreo Cookie Spiders @ Craft Buds

Halloween Fishnet Pumpkins - {Tutorial}


Here's a little project I made the other day. We haven't had a chance to visit the pumpkin patch, yet, and so our porch was looking a little bare in the pumpkin department. I saw these nice looking plastic craft pumpkins at the Michael's Craft Store and pondered over what I would do with them for a couple days. 


 I knew I didn't want to carve anything in to them, for I have tried that before and let me just say it didn't end pretty. But, there were definitely some naughty words said. And by naughty words I mean "Cheese and rice" and "Fluffing pumpkins!!". I have a 4 and a 2 year old running around here, people. 


I had some fishnet stockings laying around that I ripped a big hole in a few months ago and so I thought, "Hmmm, can pumpkins be sexy? We'll see,..."

Skull Pillar Candle Holders - {Tutorial}


Hi all! I decided that my foyer table needed more of a Halloween influence rather than the fall motif I have going throughout the entire house. So, I was browsing around the internet for something awesome and I found these:


The only problem was, they're $30 and, well,... I think not!

So, I used my crafty resources and decided to fashion something. I had 3 of these bad boys laying around from when I went through a candle pillar phase (don't ask).


I went down to Michaels and picked up 3 paper mache skulls, a 1/4 inch dowel, and black gloss spray paint (40% off coupon!).

Cool Stuff - 10 more Spooky Halloween Costumes {Part 2}

After making the kids costumes this year (CLICK HERE TO SEE THAT POST), I have really been noticing all the wonderful costumes out there that y'all are making. This is a countdown of some of the cutest costumes for kids, adults, families, dogs and so on. Enjoy the creativity! You guys are awesome!


Dinosaur Hoodie - Lil Mop Top


Cinderella - Sew Fantastic


Moose Hoodie - The Dragon Fairy Tail


Crazy Owl - Mom inc Daily

Cool Stuff - 10 Spooky Halloween Costumes {Part 1}

After making the kids costumes this year (CLICK HERE TO SEE THAT POST), I have really been noticing all the wonderful costumes out there that y'all are making. This is a countdown of some of the cutest costumes for kids, adults, families, dogs and so on. Enjoy the creativity! You guys are awesome!


Flying Chameleon @ Pam's Party and Practical Tips


Rapunzel @ Me Sew Crazy


Little Red Riding Hood and the Big Bad Wolf "Hoodie" Costumes - {Tutorial}

I, seriously, could not bring myself to pay an obscene amount of money on Halloween costumes this year. It seems like it doesn't matter how much I spend, the quality is always lacking and it's just not as cute as I think it should be. So, I decided to make the kids costumes this year. I did a lot of brain picking and web surfing and decided L would be the Big Bad Wolf and E would be Little Red Riding Hood.  


Red Riding Hood Costume:
(adapted from the Martha Stewart website)
What you'll need:
Red Hoodie
Brown Yarn (or yellow, red, black, whatever your little ones' hair color is)
Fabric glue or hot glue gun
Red felt or other fabric (2 x 2 feet)
Eyelet trim
Chip clip (you'll see)
Iron on hem tape (optional)
Needle and thread (optional)
Red grosgrain ribbon
Scissors
Measuring tool
String
Fabric marker


1. Start out by gluing or sewing your eyelet trim all the way up the zipper and around the hood.